Theming
Theming of embedded dashboards or third-party sharing dashboards involves customizing their appearance to match the host application's look and feel. This process ensures a consistent and seamless user experience, making the embedded dashboard feel like a natural part of the application rather than a separate tool. This is particularly useful for maintaining brand consistency. The various elements you can customize include:
- Page theme (background color, fonts)
- Toolbar configuration (position, color, stickiness)
- Individual widget styling (shadows, borders, and corner shaping).
Setting and applying themes for embedded dashboards
There are two steps to displaying your embedded dashboard:
-
Set a theme for the dashboard you want to embed.
-
Apply that theme to your third-party or embedded dashboard.
Setting a theme for the embedded dashboards
To create and customize a theme, you can design a new theme or modify an existing one and then choose that theme for the dashboard you want to embed.
-
Open the dashboard you want to embed and from Settings drop-down select Theme Editor. The Theme Management panel is displayed on the right.

-
You can customize the following elements:
-
Page theme
-
Background color: Change the background color of the dashboard.
-
Show page details: Choose whether to show or hide general dashboard details.
-
Show page filters: Choose whether to show or hide the dashboard's filters.
-
Font customization: Change the font for all the text on the dashboard.
-
-
Toolbar configuration
-
Position: Set the toolbar to appear at the top or bottom of the dashboard.
-
Toolbar color: Change the color of the toolbar.
-
Sticky vs. Flowing: Decide if the toolbar stays in place when scrolling (sticky) or moves with the page content (flowing).
-
Border: Adjust the border around the toolbar.
-
-
Widget styling:
-
Shadow settings: Add shadows to individual sections (widgets) of the dashboard.
-
Border styles: Choose different border styles (solid, dashed, dotted, no border) for widgets.
-
Widget border color: Select colors for widget borders.
-
Widget corner shaping: Customize the shape of widget corners (e.g., rounded or square).
-
- After adding the required customizations, click Save Changes to save the theme with a descriptive name.
Applying a specific theme for embedded or third-party dashboards
After you have created one or more themes, you can apply them to dashboards when you share them. This process ensures the embedded dashboard automatically displays with your chosen theme in the third-party application.
-
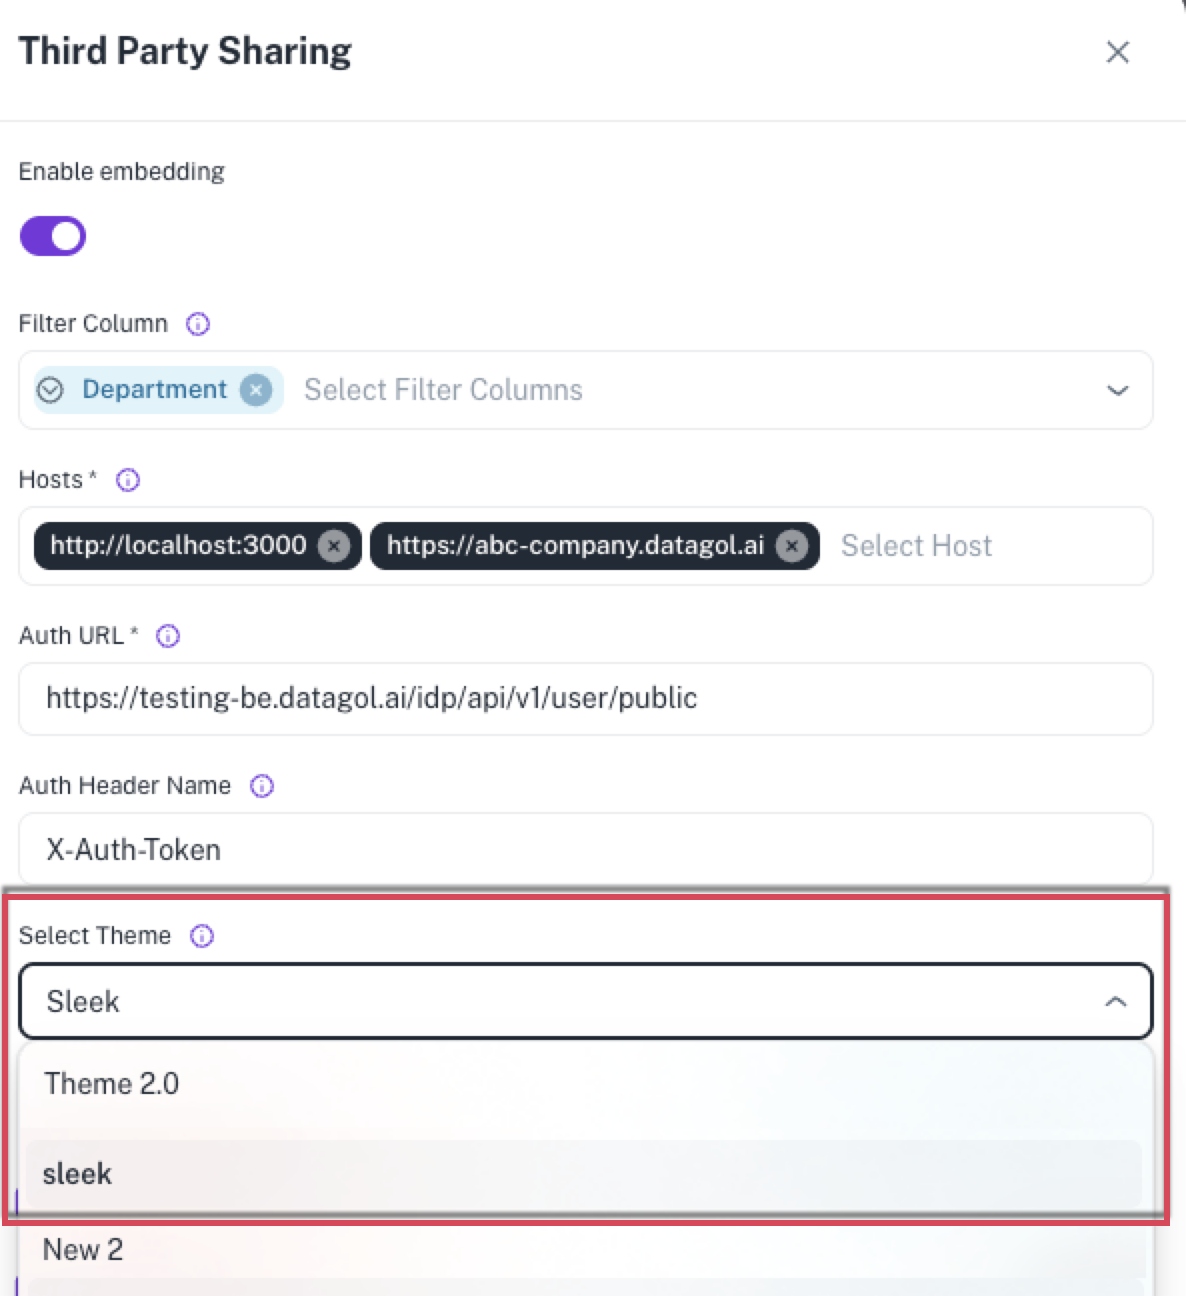
Open the dashboard you want to embed, and from Settings drop-down select Third Party Sharing. The Third Party Sharing box is displayed.
-
From the Select Theme drop-down, choose from the themes you created in the Theme Editor.
-
After selecting your desired theme and other details, generate the embed link or code.
-
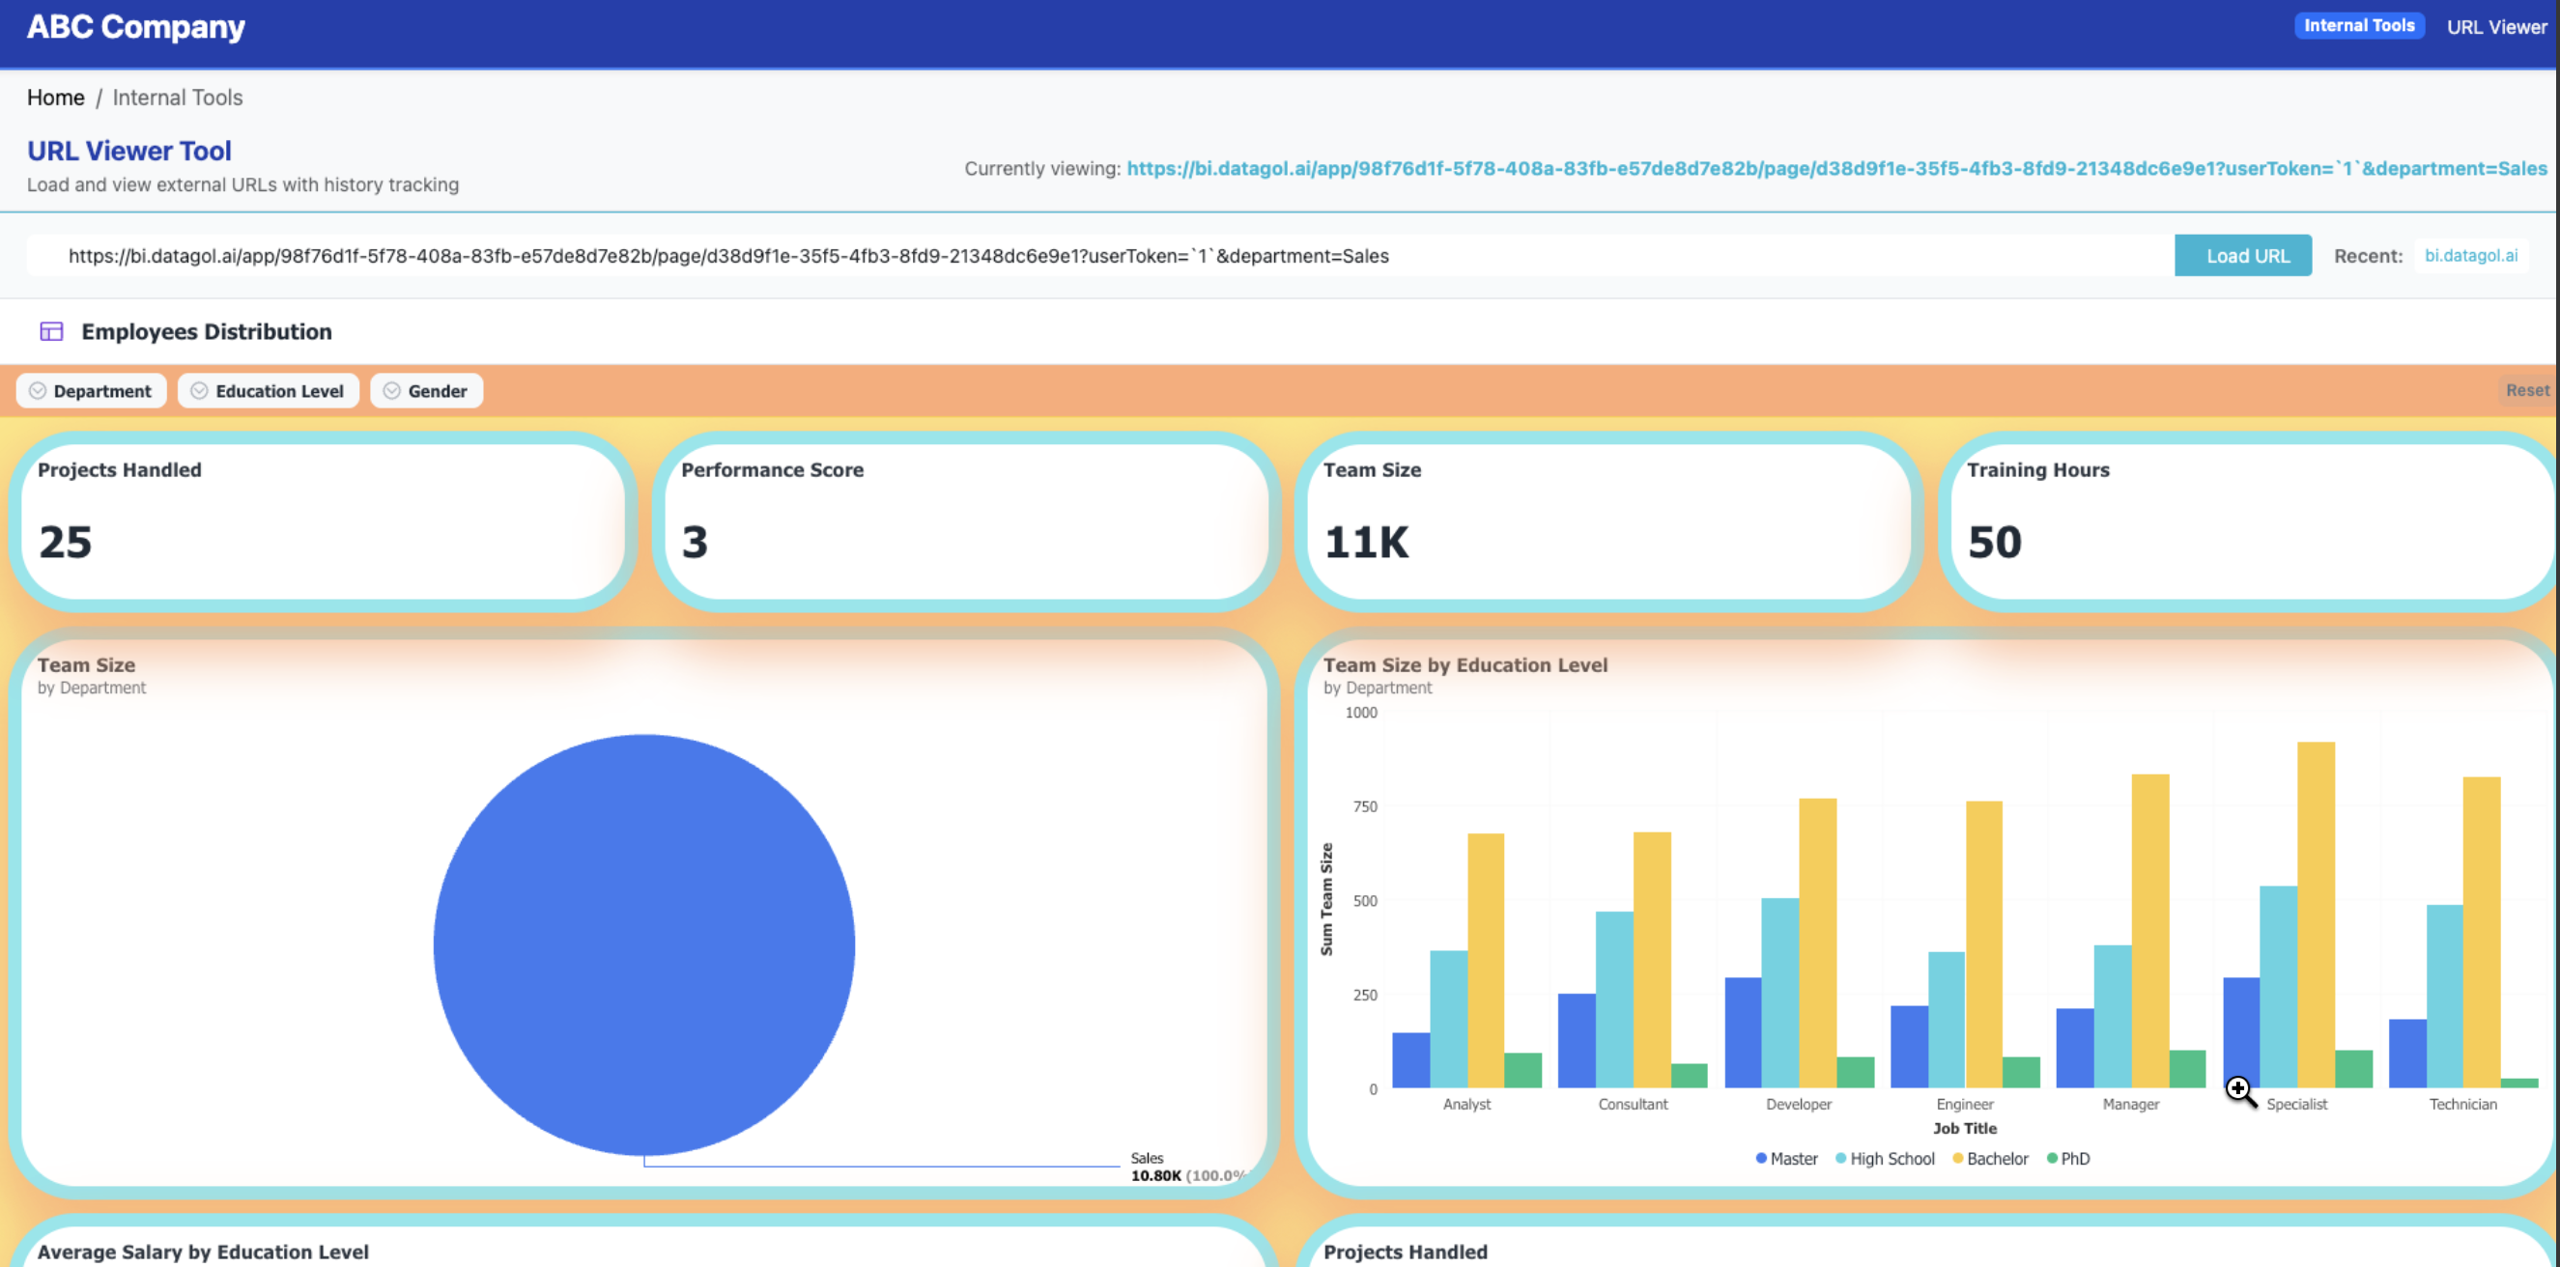
Paste the generated code into the third-party platform. The embedded dashboard will now automatically reflect the selected theme, providing a consistent and branded experience for the end-user.
Was this helpful?